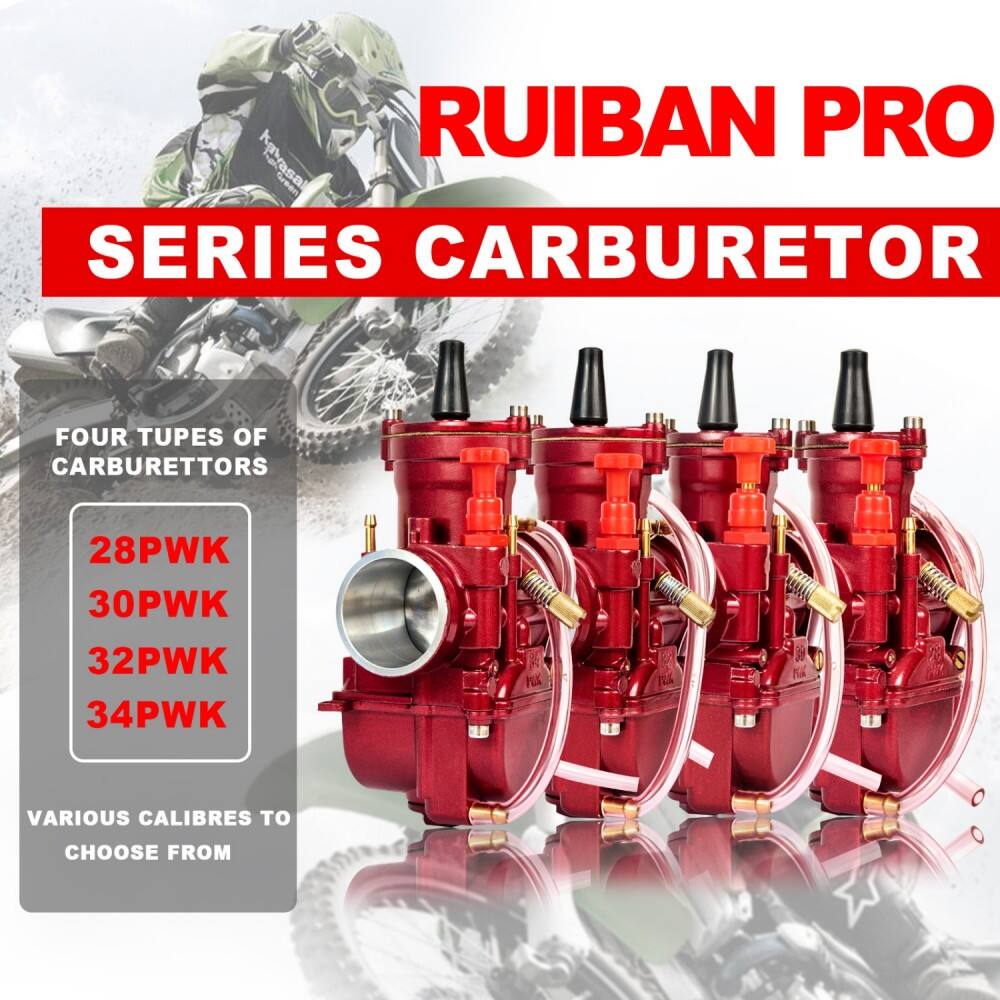
как се почиства карбуратор на мотор
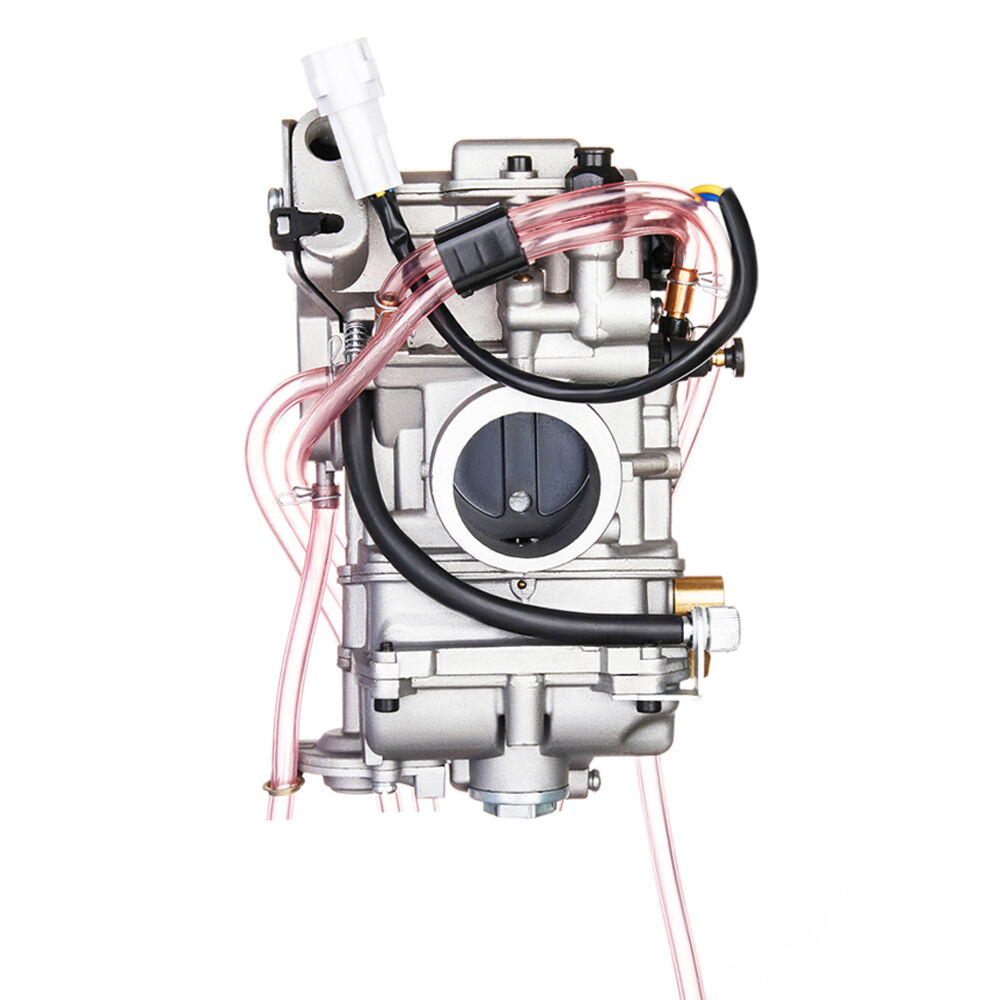
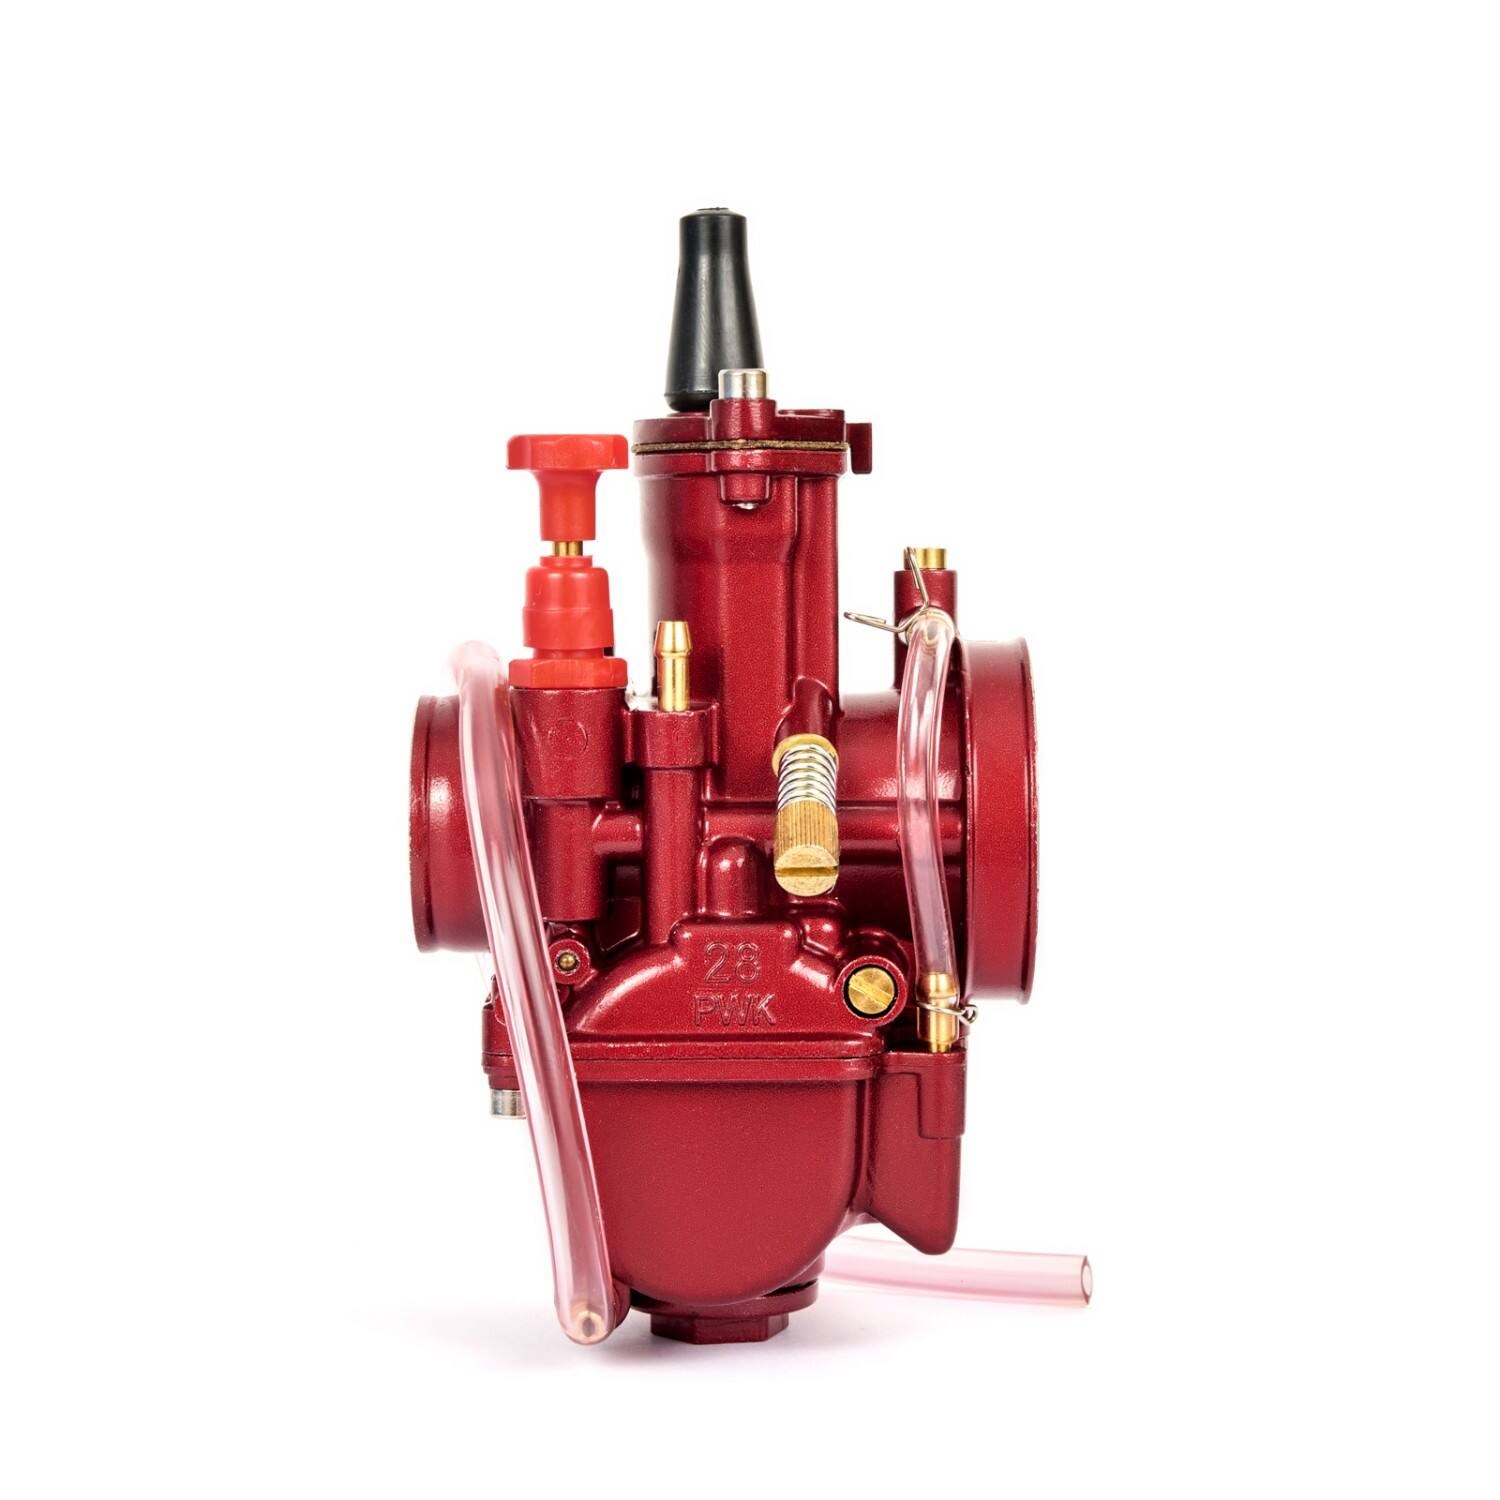
Почистването на карбуратора на мотор е важна задача за поддръжка, която осигурява оптимална работа на двигателя и икономия на гориво. Карбураторът, като важен компонент на горивната система, смесва въздух и гориво в правилната пропорция за горене. С течение на времето, мръсотия, отломки и остатъци от гориво могат да се натрупат, което води до лоша производителност и проблеми при стартирането. Процесът на почистване включва внимателно демонтиране, задълбочено почистване на всички компоненти и прецизна сглобка. Това включва отстраняване на карбуратора от мотора, разделянето на различните му части като купичката на поплавъка, дюзите и клапана на иглата и използването на специален препарат за почистване на карбуратори, за да се разтворят отложенията. Процесът изисква внимание към детайли, тъй като всяка компонента трябва да се почисти правилно и да се монтира в правилния ред. Подходящи инструменти за почистване, включително четки, компресиран въздух и подходящи почистващи разтвори, са от съществено значение за ефективната поддръжка. Разбирането на функцията и структурата на карбуратора е от решаващо значение за успешно почистване, тъй като неправилното обращение може да повреди чувствителни компоненти.